In the realm of digital creation and recreation, Minecraft brings a sandbox world that invites adventurous exploration and allows the imagination to soar. This ubiquitous open-world game has gained massive popularity among players, but some seek to transcend the boundaries of merely playing the game to reshaping it into a personalized experience. Harnessing the mechanics of Java, the main language that powers the game’s development, can empower gamers to engage more profoundly with Minecraft through modding. This direction incorporates a comprehensive understanding of Java basics, exploring how variables, classes, inheritance, polymorphism, arrays, and loops contribute to the game’s architecture. It also necessitates studying how these foundations apply to modifying the gaming experience without compromising the game’s inherent structure and design principles.
Java Basics
Mastering Java Fundamentals for Minecraft Modding
Welcome, tech aficionados and Minecraft enthusiasts! This article is straight-pouring all the potent Java programming knowledge critical to modifying Minecraft – the quintessential sandbox game that captured millions of hearts since its release. With Java as the bloodstream of Minecraft, embracing its fundamentals is an essential route to enable Minecraft modding. So, let’s deconstruct this process without further ado.
- Understanding Java’s OOP nature:
Java, being an Object-Oriented Programming (OOP) language, emphasizes objects and classes. Every Minecraft mod entered into the game gets treated as a subclass and given access to various in-built game methods through inheritance. Therefore, having a solid understanding of Java’s OOP concepts like inheritance, polymorphism, and encapsulation, can provide an actionable pathway to modding.
- Command over basic Java Syntax and Variables:
A bedrock-level comfort with Java programming syntax is mandatory. Variables in Java are one of the primary constructs and understanding their different types – primitive and reference – is essential. Furthermore, proficiency in topics like loops, arrays, and control flow will be significantly beneficial for smooth coding.
- Grasping Java Exceptions:
Exception handling in Java is a critical component of Java programming. Concur with the fact that all the reliable Minecraft mods have a robust error-checking mechanism in place. Having knack over Java exceptions allows modders to troubleshoot problems effectively and, thereby, create mods that are more stable and less prone to crashing.
- Working knowledge of Java’s Threading:
Minecraft runs on multiple threads. Consequently, modders need to ensure that their modifications positively interact with these threads. Recognizing the multithreaded nature of Java and learning thread synchronization is an undeniable prerequisite for optimizing Minecraft’s performance and stability.
- Familiarity with Java Libraries:
Having a grip on common Java libraries like Minecraft Forge or Mod Coder Pack (MCP) plays a predominant role. These libraries offer a structure and make modding more accessible by providing pre-existing codes that modders can harness to craft mods more efficiently.
- Unraveling Minecraft Source Code:
Intimately understanding Minecraft’s source code bestows the modder the power of alteration and customization. Familiarizing and deciphering the intricacies of Vanilla Minecraft’s source code can be a useful step towards becoming a proficient Minecraft modder.
- Embracing a wide-variety of Programming tools:
There are many Integrated Development Environments (IDEs) like Eclipse or IntelliJ IDEA, which could aid in developing Minecraft mods. Adoption of version control systems like Git can ensure revisions are tracked. Utilizing profilers, debuggers, and decompilers can eradicate unnecessary stress during the execution of mods.
That’s the lay of the land on leveraging Java fundamentals for the art of Minecraft modding. Now, get cracking, infuse creativity with knowledge, and let every Minecraft adventure be an embodiment of personal expression and technological prowess. Unveil the magic of possibilities with your newfound ability to modify Minecraft! Happy modding!

Minecraft Modding
Amplify Your Gaming Experience: Modifying Minecraft with Java
Given that a significant grip on Java’s basics, threading, exceptions, library familiarity, and sound knowledge of programming tools have been attained, the success tales of invisibly scaling Minecraft’s 3D mountains using Java are just waiting to be written. It’s essential to acknowledge that to modify the contours of this popular game, a substantial understanding of Minecraft’s source code will be the secret key. This article provides a detailed guide on how to modify Minecraft with Java. So, let’s fire the creative engines and take Minecraft to another level!
Decoding the Minecraft Forge
To commence the modification process, Minecraft Forge, a versatile and open-source modding tool, is a prerequisite. This tool provides a unified API, creating a stable coding environment for various gaming modifications. Download and install the latest version of the Minecraft Forge MDK (Mod Development Kit). Ensure that it aligns with the Minecraft server’s version being modified for seamless integration.
Configuring the IDE
A robust IDE (Integrated Development Environment) transforms the coding journey. Eclipse and IntelliJ IDEA are the favourites among coding enthusiasts due to their advanced coding tools and usage flexibility. After installing an IDE, make sure to configure it with the previously installed Minecraft Forge MDK to kickstart the coding journey.
Understanding the Modding Structure
Diving deep into the world of Minecraft modding, a functional sync between the main mod class, proxies, and configuration file is crucial. The main mod class is the heart of any mod development process, acting like a blueprint defining the behaviors of the mod. The proxy classes handle rendering and entity registration tasks, while the configuration file is responsible for further customizability. Modders can manipulate the control, update, and manage the mod’s in-game behavior.
Creating the First Mod
With the modding structure well-understood, it’s time to create the first mod. After setting up the main mod class, proxy classes, and a configuration file, create an item or block using Java coding. Add a texture image to the item/block and run the configuration commands. Now, fire up the game to witness the custom modifications.
Fixing Bugs and Testing
Troubleshooting is a vital part of any coding process. Run the mod on a local game server, inspect for bugs and misuse. Debugging can be done through the IDE using Java. The IDE provides line by line execution of code, enabling efficient detection and resolution of bugs.
Sharing the Mod
Post the successful local server run, it’s time to share the mod with the Minecraft community. Create a jar file of the mod using the “gradlew build” command and share it through the modding community or Minecraft forums. Every modder has a distinct coding style and sharing enhances learning by interacting and receiving feedback.
In the spirit of fostering a mod-friendly gaming ecosystem, remember to respect game and mod copyrights. Always ensure you abide by community guidelines, content policy, and licensing provisions when creating and sharing mods. Happy modding!

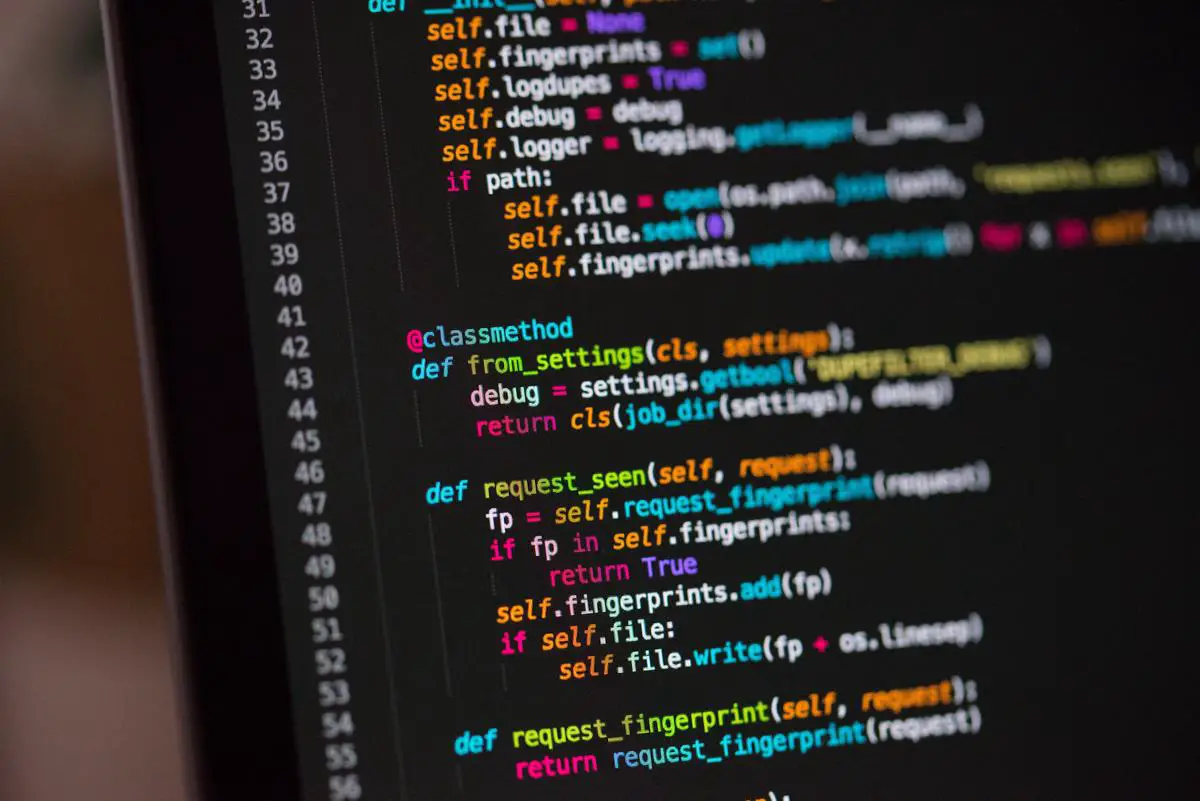
Photo by markusspiske on Unsplash
Debugging and Problem-solving
Keep It Clean with Comments
First, it’s absolutely essential to comment your code properly. Comments allow you to document what certain parts of your code do, and give valuable insights when you’re trying to understand what’s going wrong. Debugging is often a process of elimination, and being able to understand what each part of the code is supposed to do can help narrow down where the problem might lie.
Use Debugging Tools and Logs
Take advantage of debugging tools available in your Integrated Development Environment (IDE). NetBeans, Eclipse, and IntelliJ IDEA, among others, have robust debugging tools that allow you to step through your code in real time. This helps identify runtime issues, such as unexpected values or logic errors.
Reading logs is another key aspect of troubleshooting. While running Minecraft, many activities are logged and these can prove to be a goldmine of information when tracking down problems. Use the lwjgl-debug.log and latest.log files to identify exceptions: these usually contain stack traces which will help you pinpoint any error sources in the code.
Check Minecraft’s Event System
Minecraft’s event-driven system is key to gameplay mechanics. While interfacing with this system, ensure that your code is properly hooking into events and handling them correctly. Delving into the source code documentation might be necessary to understand the expected inputs and outputs of an event.
Analyse Code Performance
Analyse your code’s performance. Minecraft utilizes a lot of system resources and badly optimized code can lead to performance issues such as lag or crashes. Use Minecraft’s integrated debug screen (F3) to monitor memory usage and tick time – a high tick time could indicate performance problems in your code. Profiling tools such as VisualVM and YourKit can help analyse CPU and memory usage by Java threads.
Compare Current Code to Past Versions
Revisiting your code’s history may also prove fruitful. Stand by keeping different versions of your code and reverting back when necessary. If a feature used to work, but now it doesn’t, comparing the current code to the past versions could highlight what changed.
Ask the Java/Minecraft Modding Community for help
Finally, don’t hesitate to seek help from others when you’re stuck. Online communities such as Stack Overflow, GitHub, and the Minecraft Forge forums teem with seasoned programmers and enthusiasts who are willing to lend a hand.
In conclusion, troubleshooting is an iterative process that demands patience and keen observation. Ensure you’re equipped with the right tools, have sound knowledge of Java coding principles and are part of a programmer community to share knowledge and seek help when needed. Happy coding dwellers of the block universe!

Learning the secrets behind Minecraft’s Java-coded curtain isn’t merely about mastering the techniques or debugging the errors. Instead, it is about nurturing a mindset of constant exploration, patience through trial and error, active problem-solving, and never-ending learning. The world of Minecraft, just like the endless landscape it presents to its players, is a continual journey of discovery. Embracing the principles of Java to navigate through this journey, users can create a gaming experience that is remarkably personal and incredibly imaginative. In the grand scheme of it all, you are not merely developing skills to mod a game; you are exploring the infinite landscape of possibilities within the creativity-driven world of Minecraft and beyond.
Mastering Java GUI: A Comprehensive Tutorial
Ultimate Guide to Java Development Kit
Arsalan Malik is a passionate Software Engineer and the Founder of Makemychance.com. A proud CDAC-qualified developer, Arsalan specializes in full-stack web development, with expertise in technologies like Node.js, PHP, WordPress, React, and modern CSS frameworks.
He actively shares his knowledge and insights with the developer community on platforms like Dev.to and engages with professionals worldwide through LinkedIn.
Arsalan believes in building real-world projects that not only solve problems but also educate and empower users. His mission is to make technology simple, accessible, and impactful for everyone.

