
|
Getting your Trinity Audio player ready...
|
Tailwind CSS and Vite are popular tools for modern web development. Tailwind provides a utility-first approach to styling, while Vite offers a fast development environment. This guide explains how to integrate Tailwind CSS with Vite step by step.

Step 1: Initialize a Vite Project
Start by creating a new project using Vite. Run the following commands:
npm create vite@latest my-tailwind-project
cd my-tailwind-project
npm install
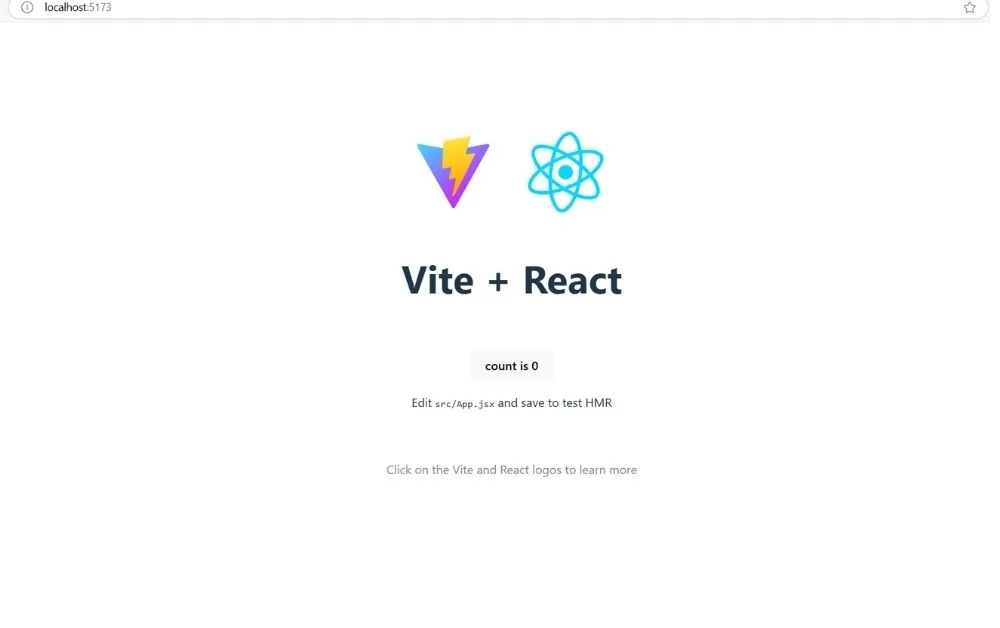
You can choose a template (like React, Vue, or Vanilla JavaScript) during the setup process.
Step 2: Install Tailwind CSS
Install Tailwind CSS and its required dependencies:
npm install -D tailwindcss postcss autoprefixer
npx tailwindcss init
The npx tailwindcss init command generates a tailwind.config.js file for customizing Tailwind settings.
Step 3: Configure Tailwind CSS
In the tailwind.config.js file, specify the paths to your project files:
module.exports = {
  content: [
    './index.html',
    './src/**/*.{js,ts,jsx,tsx}',
  ],
  theme: {
    extend: {},
  },
  plugins: [],
};
This ensures Tailwind scans your files for class names and includes only the necessary CSS in the final build.
Step 4: Add Tailwind Directives
Create a new CSS file, such as src/index.css, and include the following Tailwind directives:
@tailwind base;
@tailwind components;
@tailwind utilities;
These directives load Tailwind’s base styles, pre-designed components, and utility classes.
Step 5: Import Tailwind CSS
Import the index.css file into your main JavaScript or TypeScript file. For example, in main.jsx or main.tsx:
import './index.css';This integrates Tailwind CSS into your project.
Step 6: Run the Development Server
Start the development server to see Tailwind in action:
npm run devOpen the provided local URL in your browser to verify the setup.
Example: Basic Component with Tailwind
Here’s an example of a simple React component styled with Tailwind CSS:
App.js
export default function App() {
  return (
    <div className="flex justify-center items-center min-h-screen bg-gray-100">
      <h1 className="text-3xl font-bold underline">
        Hello World!
      </h1>
    </div>
  );
}
This example demonstrates how to use Tailwind’s utility classes for layout, typography, and background styling.

Step 7: Build for Production
When your project is ready, build it for production using:
npm run buildVite will automatically optimize the build by removing unused styles based on the content paths specified in tailwind.config.js.
Optional: Add Plugins
To enhance your project, you can use Tailwind plugins such as:
- Typography Plugin: For better text styling.
npm install @tailwindcss/typographyAdd it to tailwind.config.js:
plugins: [require('@tailwindcss/typography')],2. Forms Plugin: For form element styling.
npm install @tailwindcss/formsConclusion
This guide explains how to set up Tailwind CSS with Vite for a seamless development experience. By following these steps, you can leverage the benefits of both tools and quickly build modern, responsive applications.
For more tutorials, visit Makemychance.com.
Official Documentation – Tailwindcss.com
Relavant Article
Exploring ShadCN: The Modern Component Library for Tailwind CSS
Mastering Tailwind CSS for Forms

Arsalan Malik is a passionate Software Engineer and the Founder of Makemychance.com. A proud CDAC-qualified developer, Arsalan specializes in full-stack web development, with expertise in technologies like Node.js, PHP, WordPress, React, and modern CSS frameworks.
He actively shares his knowledge and insights with the developer community on platforms like Dev.to and engages with professionals worldwide through LinkedIn.
Arsalan believes in building real-world projects that not only solve problems but also educate and empower users. His mission is to make technology simple, accessible, and impactful for everyone.
Join us on dev community