|
Getting your Trinity Audio player ready... |
Figma is a web-based interface design tool. It allows teams to collaborate in real time on the design of websites and mobile applications. It provides features such as vector networks, prototypes, and version history.
Figma is a popular tool among designers and teams due to its ease of use and ability to work together on designs in real time.
Figma also allows for easy sharing and commenting on designs. it is a great tool for getting feedback and iterating on designs. It also has a robust library feature, which allows for easy reuse of design elements such as colors, typography, and components.
Additionally, Figma has a Developer Handoff feature that enables developers to easily access design files and assets. It helps to streamline the design-to-development process. Furthermore, it also supports plugins to add more functionality to the product.
It is also available as a web app and as a desktop application for Windows, Mac, and Linux. It also offers a free plan and a paid plan with additional features and storage options.
How To Use Figma?
Figma is a user-friendly tool that can be used by both designers and non-designers. Here are some steps to get started with using Figma:
1. Make An Account
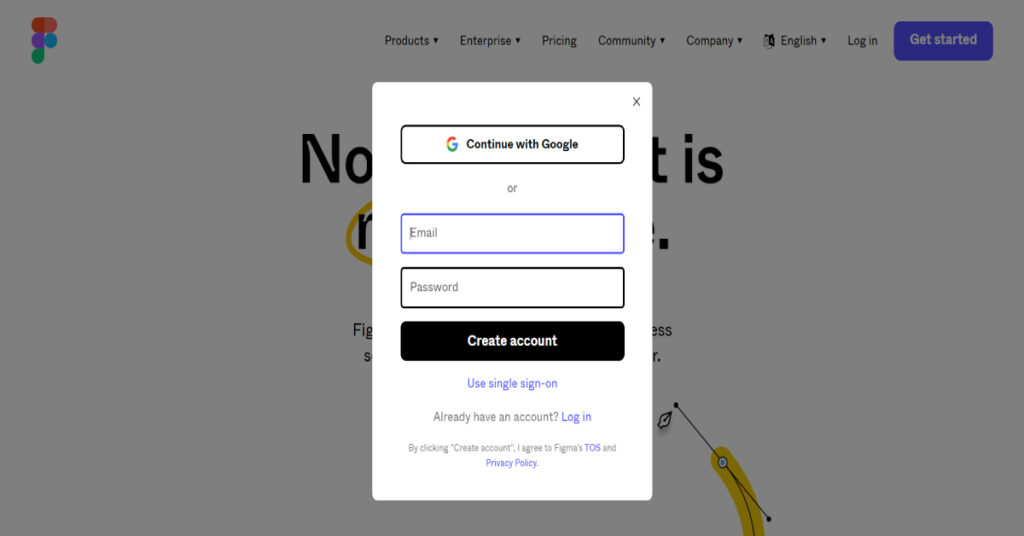
Go to Figma’s official website Figma.com and create an account first. You can also download stand alone application to use Figma on your system.
2. Create A New File
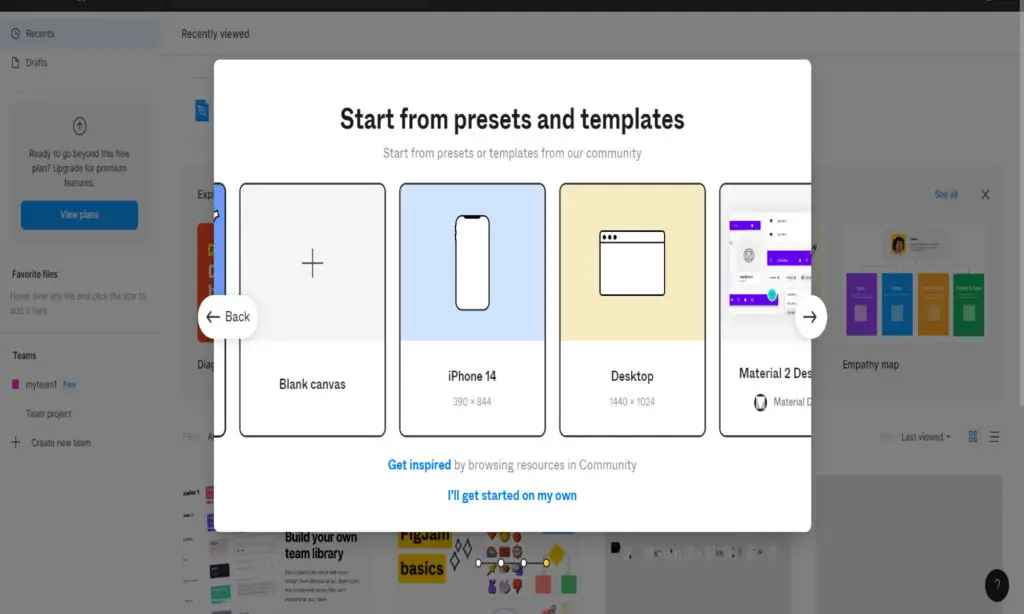
Once you are signed in, click on the “New File” button to create a new design project. You can choose from different template options, such as web design, mobile app interface, or wireframe.
3. Create Your Design
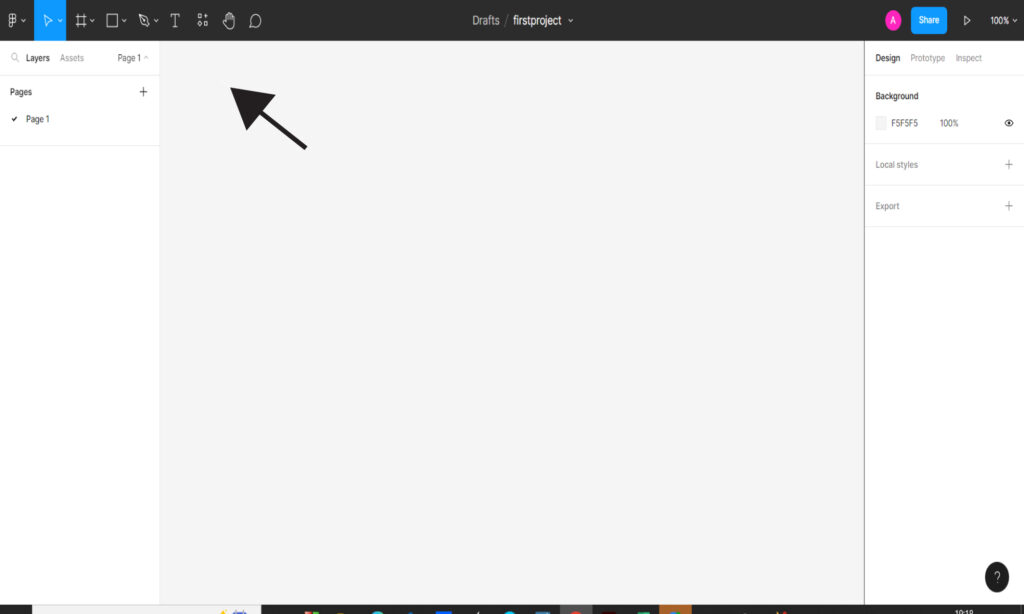
Once you have selected a template, you can start designing your project by adding shapes, text, images, and other elements to the canvas. You can also use Figma’s built-in tools and features to manipulate and style your design elements.
4. Add And Edit Layers
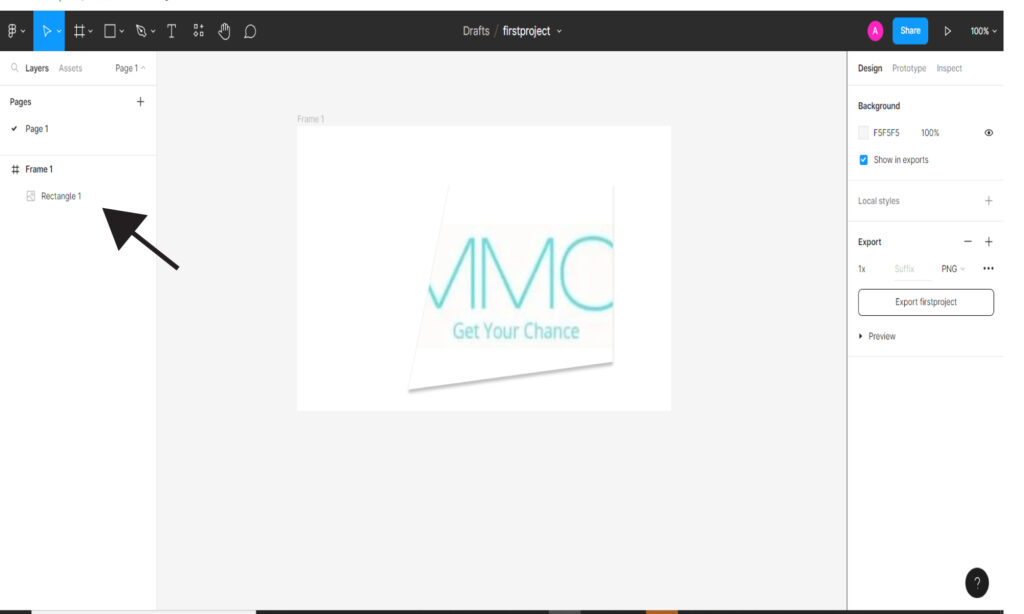
The layers panel is where you can organize the elements in your design. You can rename layers, lock them, hide them, or even make a group of layers.
5. Collaborate with others
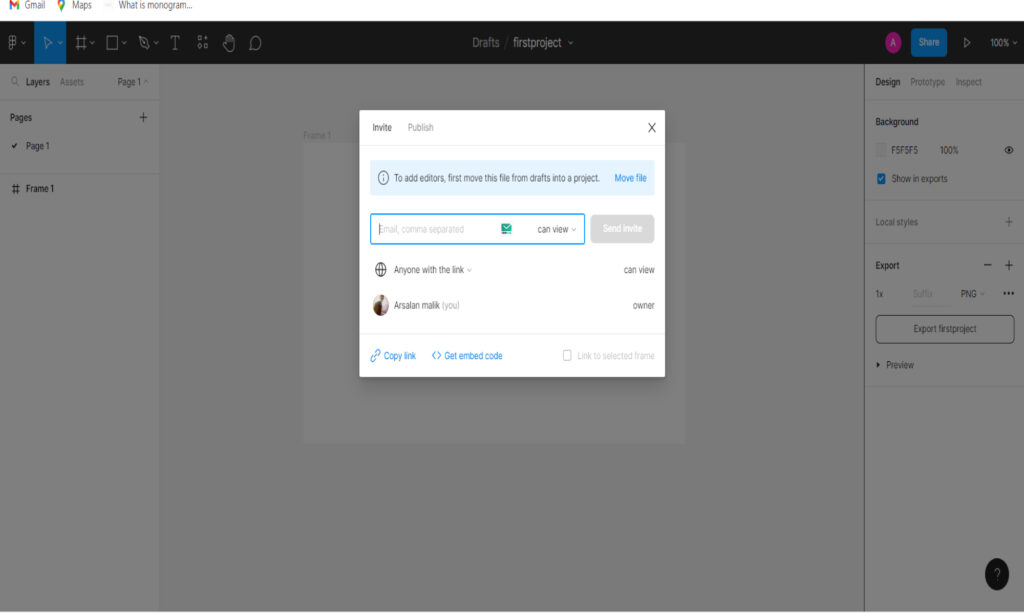
One of the key features of Figma is its real-time collaboration capabilities. You can invite other users to your file and work on the design together in real time.
You can also leave comments and feedback on specific parts of your design. it easy to communicate with your team or clients. We can also see who is currently viewing and editing the file, making it easy to coordinate your efforts.
6. Export Your Design
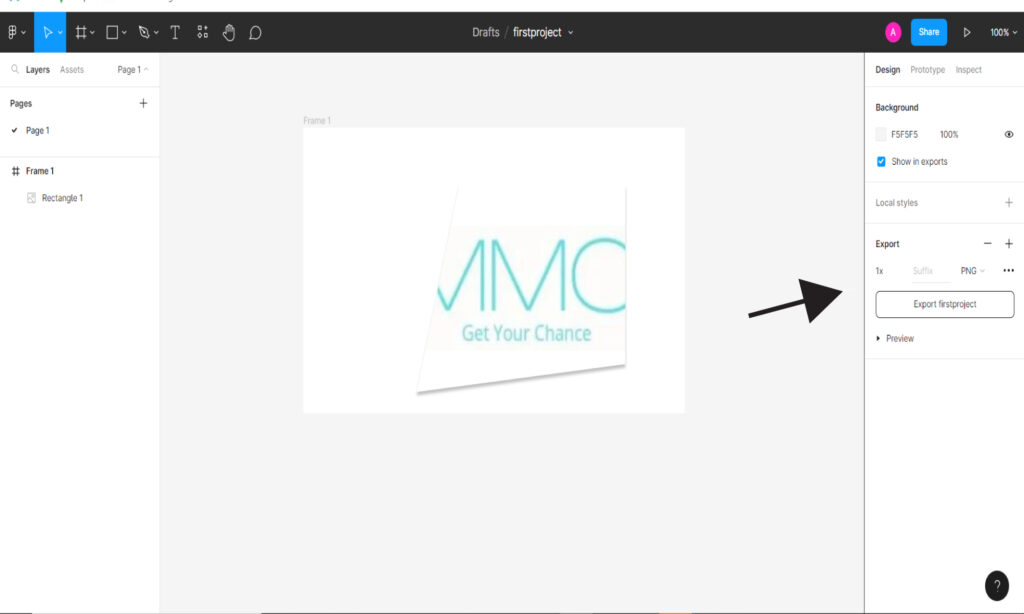
Once you are happy with your design, you can export it in various file formats, such as PNG, SVG, and PDF. This can be done by going to the “File” menu and selecting “Export.”
You can also export specific parts of your design by selecting the elements you want to export and going to “File” > “Export Selection.”
7. Publish And Share Your Design
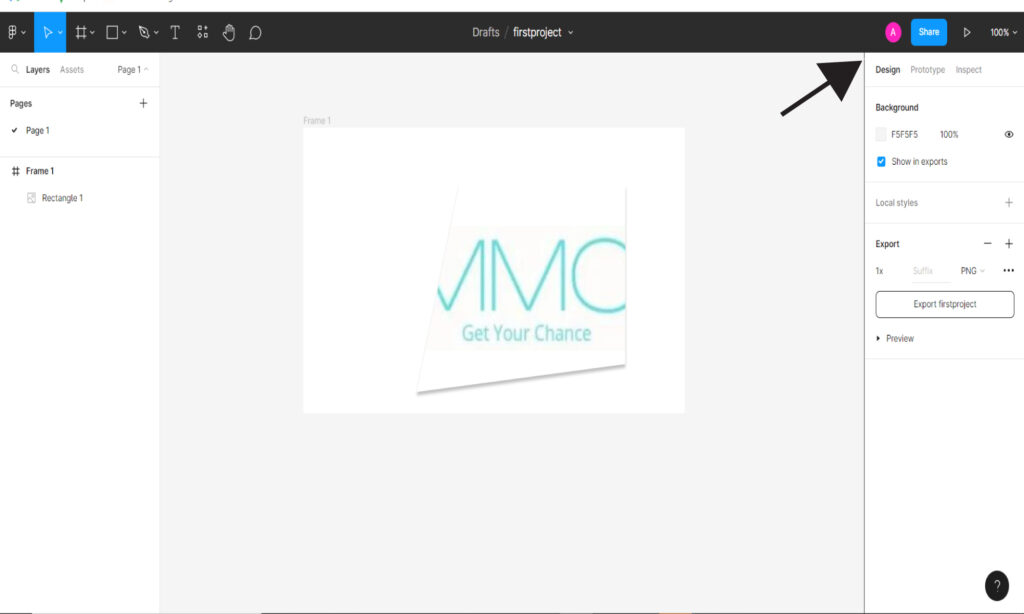
In addition to exporting your design, you can also share it with others by creating a link to your file or by embedding it on a website.
This can be done by going to the “File” menu and selecting “Publish” or “Share.” You will be given a link that you can share with others. It means you can use the embed code to embed your design on a website. This can be useful for sharing your design with clients or getting feedback from stakeholders.
8. Use Plugins
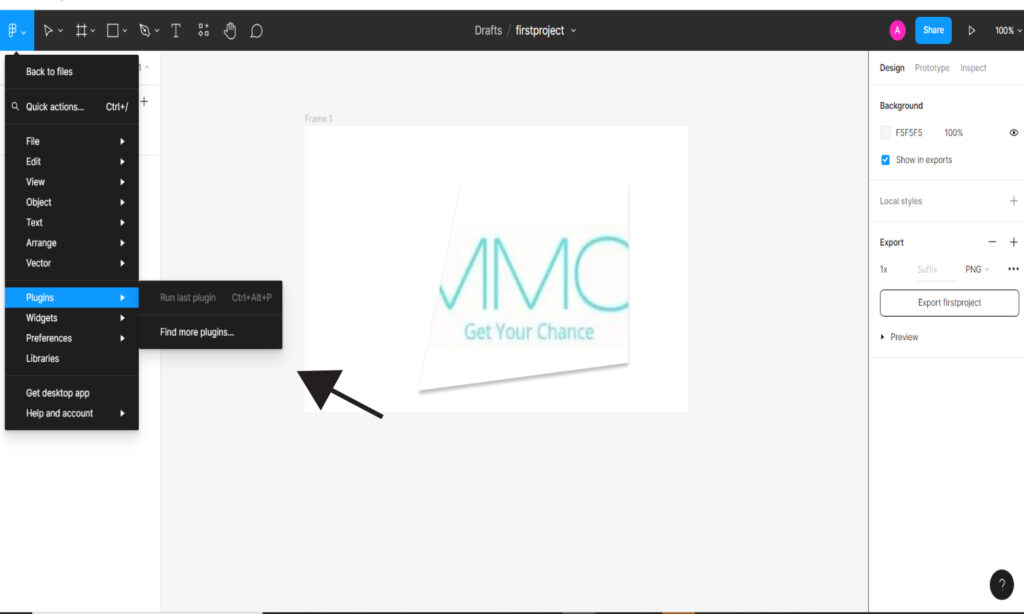
It also has a wide variety of plugins that can be used to enhance the functionality of the tool. You can access these plugins by going to the “Plugins” menu and browsing the available options.
Some examples of plugins include tools for creating wireframes, generating, etc. These plugins can be used to automate repetitive tasks, add new functionality, and streamline your workflow.
How To Add A Font In Figma?
There are a few ways to add a font to a Figma file:
- Use the system fonts: Figma automatically includes all the fonts that are installed on your computer. You can access these fonts by selecting “System fonts” from the font drop-down menu in the text tool.
- Use Figma’s web fonts: Figma also includes a library of web fonts that you can use in your designs. You can access these fonts by selecting “Web fonts” from the font drop-down menu.
- Use a custom font: If you want to use a font that’s not included in Figma’s system or web fonts, you can upload a custom font file. Here’s how:
- In the top left corner of the Figma interface, click on the “File” menu.
- Select “Preferences” then “Manage fonts”
- Click the “Add fonts” button
- Browse for the font file on your computer and select it
- The font will be uploaded and available for use in all your Figma files
Once you’ve added the font, you can use it in your designs by selecting it from the font drop-down menu in the text tool.
Keep in mind that when sharing your Figma files with others, they will also need the custom font installed on their computer to see the text correctly.
How To Add Icons In Figma?
There are a few ways to add icons in Figma:
- Use the built-in icon library: Figma has a built-in icon library that you can access from the left-hand sidebar. Simply search for the icon you need and drag it onto your canvas.
- Add an icon from an external source: You can also add icons from external sources such as Icons8, Iconfinder, and more. To do this, you will need to install the corresponding Figma plugin for the icon source you want to use.
- Create your own icon: You can create your own custom icons using the vector tools in Figma.
- Import icons: You can import icons from other sources such as SVG, PNG, and other formats. To do this, go to File > Import and select the file you want to import.
Once you have your icons in the canvas, you can manipulate them as you would any other vector object in Figma, including resizing, coloring, and styling.
How To Add Image In Figma?
To add an image in Figma, you can do the following:
- Open the frame where you want to add the image.
- Select the rectangle tool from the toolbar on the left side of the screen.
- Draw a rectangle on the canvas to create a new frame for the image.
- With the new frame selected, click the “Paint Bucket” icon in the toolbar on the right side of the screen.
- In the Fill section, click the “Image” option.
- Click the “Choose Image” button, and select the image you want to add from your computer.
- Use the “Scale” and “Position” options to adjust the size and placement of the image within the frame.
- Once you are done, you can use the frame to adjust the position and size of the image.
- You can also use the “Layer” menu on the right side of the screen to make further adjustments to the image, such as adding effects or adjusting the transparency.
Note: You can also drag and drop an image file onto the canvas to create a frame and add the image.
How To Add A Video In Figma?
Figma does not support the direct insertion of video files, but you can still include a video in your design by using a video player design element, or by linking to the video from within the design.
Here are a few ways to do that:
- Create a video player design element: You can create a design element that mimics the look of a video player, and then use it to represent the video in your design. You can add a play button, progress bar, and other controls to make it look like a real video player.
- Use a video screenshot: You can take a screenshot of the video and use it as an image in your design. This will allow you to show a still image of the video in your design, but it will not be interactive.
- Link to the video: You can add a link to the video in your design so that viewers can click on the link to watch the video. This can be done by adding a hyperlink to a text or button element.
To add a link to a video in Figma, you can do the following:
- Select the element you want to use as the link, such as a text or button element.
- In the properties panel on the right side of the screen, click the “Link” option.
- In the Link dialog box, enter the URL of the video you want to link to.
- You can also choose the “Open in new window” option if you want the video to open in a new tab or window when clicked.
- Click “Apply” to add the link to the selected element.
- Once you have added the link, you can use the “Prototype” feature to create an interactive link.
- Click on the element and in the right panel select “Prototype” and then “Link to” and link it to the frame where the video link is.
- Once you are done, you can test the link by clicking on the element in design mode.
Note: In Figma, you can use the “Link” option in the properties panel to link a frame to any external website or page.
Conclusion
In conclusion, Figma is a powerful and versatile design tool that offers a wide range of features and capabilities. With its intuitive interface and collaborative functionality, it has become a popular choice among designers and teams.
Throughout this article, we have explored what Figma is and how to use it effectively. We have learned how to add images, icons, fonts, and videos to our designs, enhancing their visual appeal and functionality.
By incorporating these elements into our designs, we can create more engaging and dynamic user experiences. Whether it’s adding high-quality images to capture attention, using custom fonts to establish brand identity, or integrating videos to provide interactive content and much more, Figma allows us to bring our designs to life.
Furthermore, Figma’s collaborative features enable seamless teamwork and efficient design workflows. Designers can easily share their work with team members, gather feedback, and make real-time updates, fostering collaboration and enhancing productivity.
In conclusion, Figma is a comprehensive design tool that empowers designers to create stunning and interactive designs while streamlining the design process. Its user-friendly interface, extensive feature set, and collaborative capabilities make it a valuable asset for designers and teams alike. Incorporating Figma into your design workflow can greatly enhance your productivity and creativity, ultimately leading to more successful design projects.

Arsalan Malik is a passionate Software Engineer and the Founder of Makemychance.com. A proud CDAC-qualified developer, Arsalan specializes in full-stack web development, with expertise in technologies like Node.js, PHP, WordPress, React, and modern CSS frameworks.
He actively shares his knowledge and insights with the developer community on platforms like Dev.to and engages with professionals worldwide through LinkedIn.
Arsalan believes in building real-world projects that not only solve problems but also educate and empower users. His mission is to make technology simple, accessible, and impactful for everyone.
Join us on dev community

