|
Getting your Trinity Audio player ready...
|
The CSS z-index property is a powerful tool for controlling the stacking order of elements on a webpage. Think of it as layers in a drawing—elements with a higher stack order appear in front of those with a lower one.
Here’s everything you need to know to master this essential CSS property.
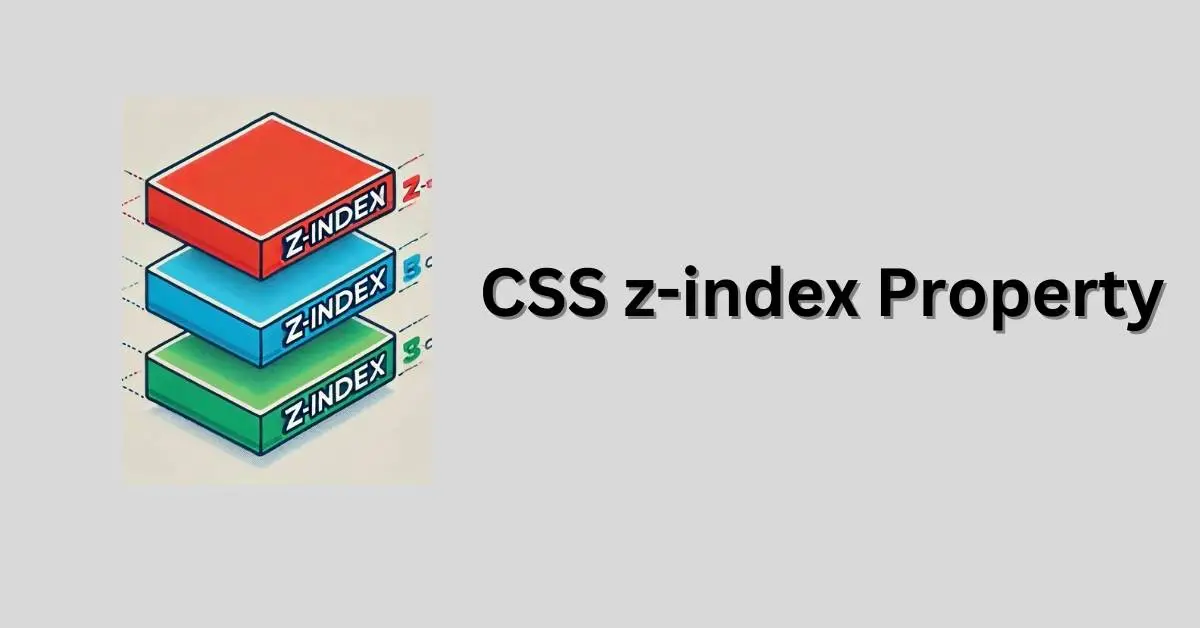
What is the z-index Property?
The z-index property determines how elements are stacked along the z-axis (the depth axis). By assigning a numeric value to the z-index, you can ensure specific elements appear in front of or behind others.
Syntax
selector {
  z-index: value;
}
- Value: Can be an integer (positive, negative, or zero).
- Default:
z-indexisautowhen not specified.
Key Points to Remember
1. Positioning Matters
For the z-index property to work, the element must have a positioning value of:
absoluterelativefixedsticky
It also applies to flex items within a display: flex container.
Example:
<div style="position: absolute; z-index: 2;">I am on top!</div>
<div style="position: absolute; z-index: 1;">I am below.</div>
2. Overlapping Without z-index
When two positioned elements overlap and no z-index is defined, the element later in the HTML code will appear on top.
Example:
<div style="position: relative;">First Element</div>
<div style="position: relative;">Second Element</div>
Here, the second element will be displayed above the first.
3. Positive and Negative z-index Values
- Positive values: Place elements in front of others.
- Negative values: Push elements behind.
Example:
<div style="position: relative; z-index: -1;">I am behind.</div>
<div style="position: relative; z-index: 1;">I am in front.</div>
4. z-index in Flex Containers
Flex items can use z-index without needing additional positioning, as they inherit their stack context from the display: flex container.
Example:
.container {
  display: flex;
}

.item1 {
  z-index: 1;
}

.item2 {
  z-index: 2;
}
Practical Example: Layered Design
Here’s how z-index can help in creating overlapping elements:
<div style="position: absolute; z-index: 3; background: red; width: 100px; height: 100px;">Box 1</div>
<div style="position: absolute; z-index: 2; background: blue; width: 100px; height: 100px; top: 50px;">Box 2</div>
<div style="position: absolute; z-index: 1; background: green; width: 100px; height: 100px; top: 100px;">Box 3</div>
In this example:
See the Pen Untitled by Arsalan malik (@Arsalan-malik-the-builder) on CodePen.
- Red Box (z-index: 3) appears on top.
- Blue Box (z-index: 2) comes next.
- Green Box (z-index: 1) is at the bottom.
Troubleshooting Common Issues
- z-index Not Working?
Ensure the element has a validpositionproperty set. Without it,z-indexwon’t apply. - Nested Stacking Contexts
Elements inside a parent withpositionset (e.g.,relative) create their own stacking context, limiting the effect ofz-indexwithin the parent.
Conclusion
The CSS z-index property is your go-to solution for managing the visual hierarchy of elements. By understanding how it interacts with positioning and stacking contexts, you can create polished and professional designs.
Experiment with z-index to bring your layouts to life! For more CSS tips and tutorials, explore articles on Makemychance.com.
Happy coding! 🌟
Understanding CSS Perspective: Bringing Depth to Your Designs
CSS isolation: Enhance Element Rendering Control
Mastering CSS Transition: Complete Guide

Arsalan Malik is a passionate Software Engineer and the Founder of Makemychance.com. A proud CDAC-qualified developer, Arsalan specializes in full-stack web development, with expertise in technologies like Node.js, PHP, WordPress, React, and modern CSS frameworks.
He actively shares his knowledge and insights with the developer community on platforms like Dev.to and engages with professionals worldwide through LinkedIn.
Arsalan believes in building real-world projects that not only solve problems but also educate and empower users. His mission is to make technology simple, accessible, and impactful for everyone.
Join us on dev community