|
Getting your Trinity Audio player ready... |
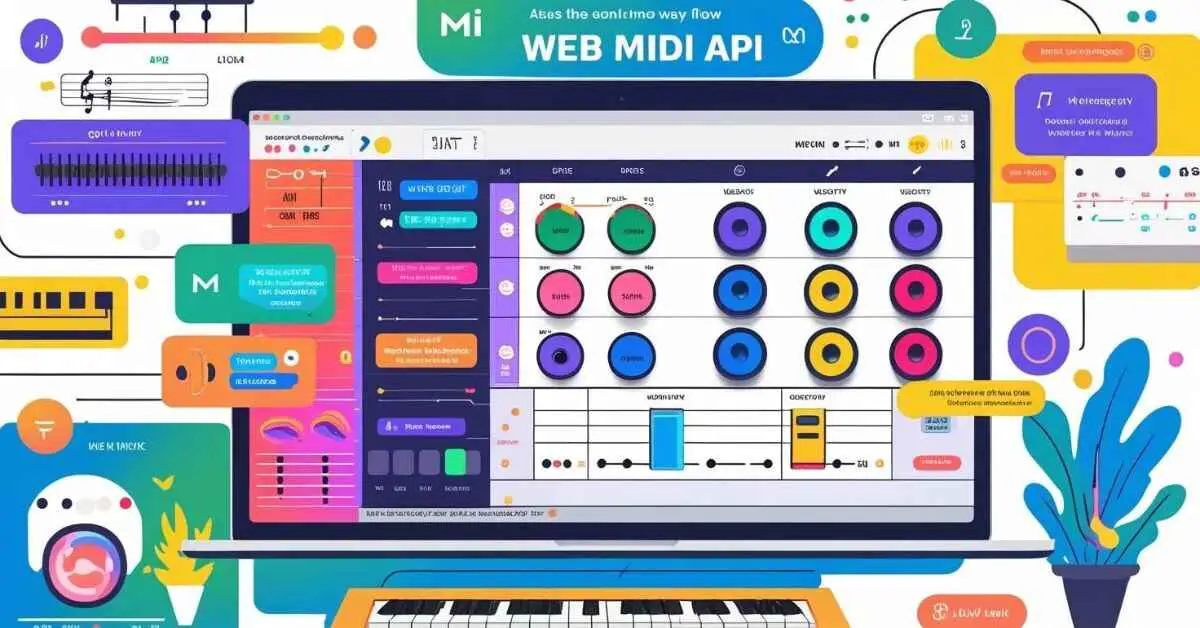
The Web MIDI API enables web applications to interact with MIDI (Musical Instrument Digital Interface) devices. It allows developers to create music-related apps, control synthesizers, or interface directly with MIDI controllers within the browser. Below is a concise guide to using the Web MIDI API, based on current standards and practices as of May 31, 2025.

Key Concepts
- MIDI Access: The API provides access to MIDI devices (inputs and outputs) connected to the user’s system.
- MIDI Messages: MIDI messages are used to send/receive data like note-on, note-off, or control changes.
- Browser Support: Supported in major browsers like Chrome, Edge, and Opera. Firefox requires a flag, and Safari has limited support.
- Permissions: Users must grant permission to access MIDI devices for security.
Basic Usage
- Request MIDI Access:
Usenavigator.requestMIDIAccess()to request access to MIDI devices. It returns a Promise that resolves to aMIDIAccessobject.
   async function initMIDI() {
       try {
           const midiAccess = await navigator.requestMIDIAccess({ sysex: false });
           console.log('MIDI access granted');
           return midiAccess;
       } catch (err) {
           console.error('MIDI access denied:', err);
       }
   }
sysex: trueenables System Exclusive messages, but requires additional user permission.
- List Available Devices:
TheMIDIAccessobject containsinputsandoutputsproperties, which areMap-like objects of MIDI devices.
   function listDevices(midiAccess) {
       console.log('Inputs:');
       for (const input of midiAccess.inputs.values()) {
           console.log(`- ${input.name} (ID: ${input.id})`);
       }
       console.log('Outputs:');
       for (const output of midiAccess.outputs.values()) {
           console.log(`- ${output.name} (ID: ${output.id})`);
       }
}- Receive MIDI Messages:
Attach an event listener to aMIDIInputto handle incoming MIDI messages.
   function setupInput(midiAccess) {
       for (const input of midiAccess.inputs.values()) {
           input.onmidimessage = (event) => {
               const [status, data1, data2] = event.data;
               console.log(`MIDI Message: Status=${status}, Data1=${data1}, Data2=${data2}`);
               // Example: Note-on (status 144-159), note number (data1), velocity (data2)
               if (status >= 144 && status <= 159) {
                   console.log(`Note On: Note=${data1}, Velocity=${data2}`);
               }
           };
       }
}- Send MIDI Messages:
Use aMIDIOutputto send MIDI messages to a device.
   function sendNote(midiAccess, outputId, note, velocity) {
       const output = midiAccess.outputs.get(outputId);
       if (output) {
           // Note-on message: 0x90 (144) for channel 1, note number, velocity
           output.send([0x90, note, velocity]);
           // Note-off after 500ms
           setTimeout(() => output.send([0x80, note, 0]), 500);
       }
}- Handle Device Connection Changes:
Listen for device connection/disconnection events.
   function monitorDevices(midiAccess) {
       midiAccess.onstatechange = (event) => {
           const port = event.port;
           console.log(`Device ${port.name} (${port.type}) is now ${port.state}`);
       };
   }
Example: Full Setup
async function startMIDI() {
    const midiAccess = await initMIDI();
    if (midiAccess) {
        listDevices(midiAccess);
        setupInput(midiAccess);
        monitorDevices(midiAccess);
        // Example: Send a C4 note (MIDI note 60) with velocity 100 to the first output
        const outputId = [...midiAccess.outputs.keys()][0];
        sendNote(midiAccess, outputId, 60, 100);
    }
}

startMIDI();
Important Notes
- Permissions: Ensure your web app prompts the user for MIDI access appropriately. Some browsers may block access if not initiated by a user action (e.g., a button click).
- MIDI Message Structure: MIDI messages are typically 1-3 bytes:
- Status byte: Defines the message type (e.g., 0x90 for note-on, 0x80 for note-off).
- Data bytes: Provide additional data like note number or velocity.
- Security: Avoid enabling
sysexunless necessary, as it can access sensitive device data. - Error Handling: Always include try-catch blocks for
requestMIDIAccessand check for browser compatibility. - Browser Compatibility: Test across browsers, as support varies. Use a polyfill or fallback for unsupported browsers.
- Resources:
- MDN Web MIDI API Documentation
- Web MIDI API Specification
Troubleshooting
- No devices detected: Ensure MIDI devices are connected and drivers are installed. Check browser permissions.
- No messages received: Verify the MIDI device is sending on the correct channel and the input is properly configured.
- Permission denied: Ensure the page is served over HTTPS, as some browsers restrict MIDI access on insecure connections.
Advanced Use Cases
- Synthesizer Control: Send control change messages (status 0xB0) to adjust parameters like volume or modulation.
- Real-Time Performance: Use Web Audio API alongside Web MIDI for audio synthesis triggered by MIDI input.
- DAW Integration: Build web-based DAWs (Digital Audio Workstations) that interface with hardware controllers.
How I Structure My Clean Architecture Projects (Folder by Folder)
React 19: Say Goodbye to useEffect for Data Fetching

Arsalan Malik is a passionate Software Engineer and the Founder of Makemychance.com. A proud CDAC-qualified developer, Arsalan specializes in full-stack web development, with expertise in technologies like Node.js, PHP, WordPress, React, and modern CSS frameworks.
He actively shares his knowledge and insights with the developer community on platforms like Dev.to and engages with professionals worldwide through LinkedIn.
Arsalan believes in building real-world projects that not only solve problems but also educate and empower users. His mission is to make technology simple, accessible, and impactful for everyone.
Join us on dev community